I’ve been working on TAK Servers for a client and wanted to give them a a bespoke header for their site. I really likes the style of the CivTAK website header, which at the time of the post was as below.

So I figured it “shouldn’t” be too hard to emulate.
First I cut the shield out, keeping the text as a layer so that I could find a decent match later, and then I roughed up the black area to be in keeping with the existing style.

Then the hunt was on for a matching font for the TAK text which looked to be ROPER there is a variant called ROPER PRESS HEAVY which has a machined look, but I was after clean lines, in order to substitute by own stressing of the text.
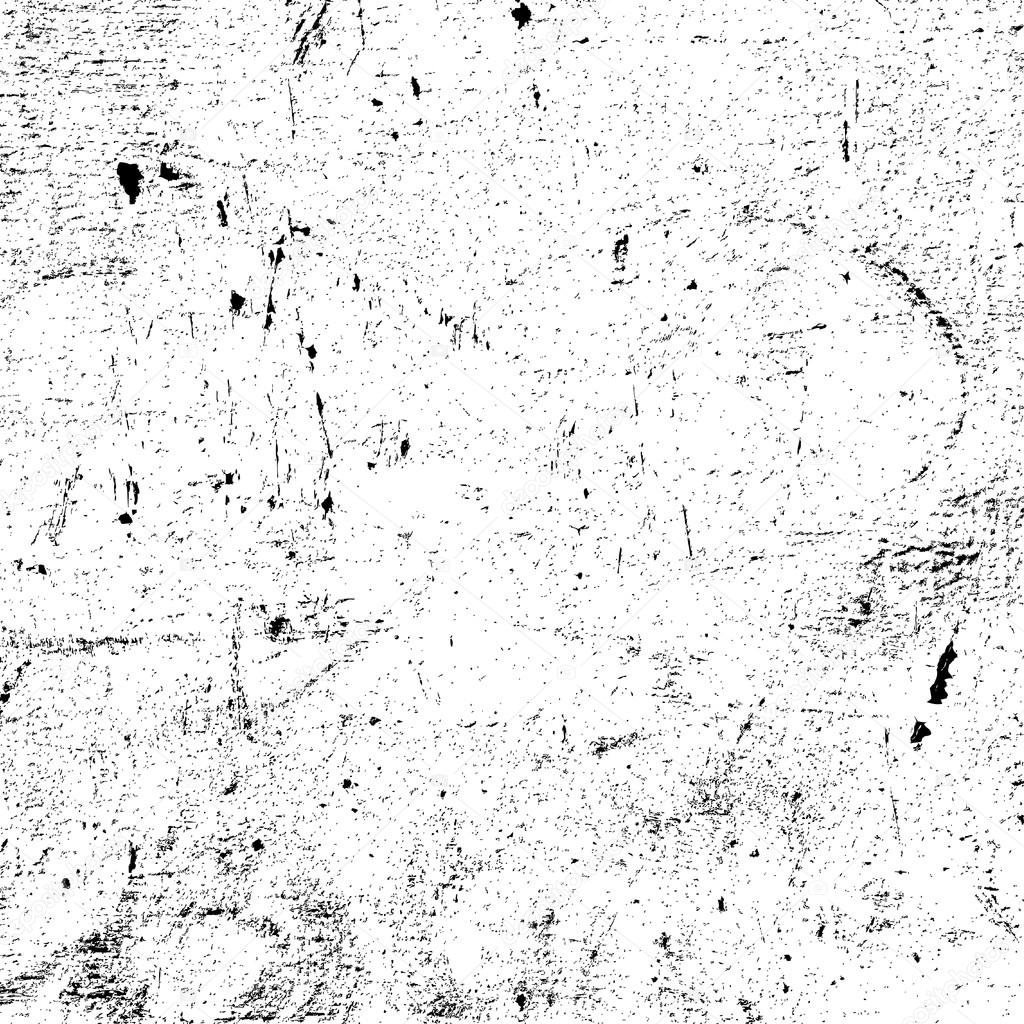
With white text on black, in the preferred image editing suite I cut out the white part of the text, and then added in a stressed white layer underneath to give the text a machined look. This was the stressed white background I used. Then flatten the layers, and remove the black background and place onto the shield as a layer. And you will end up with something like this.

So that’s the shield done, the next element was a bit more complex the background.
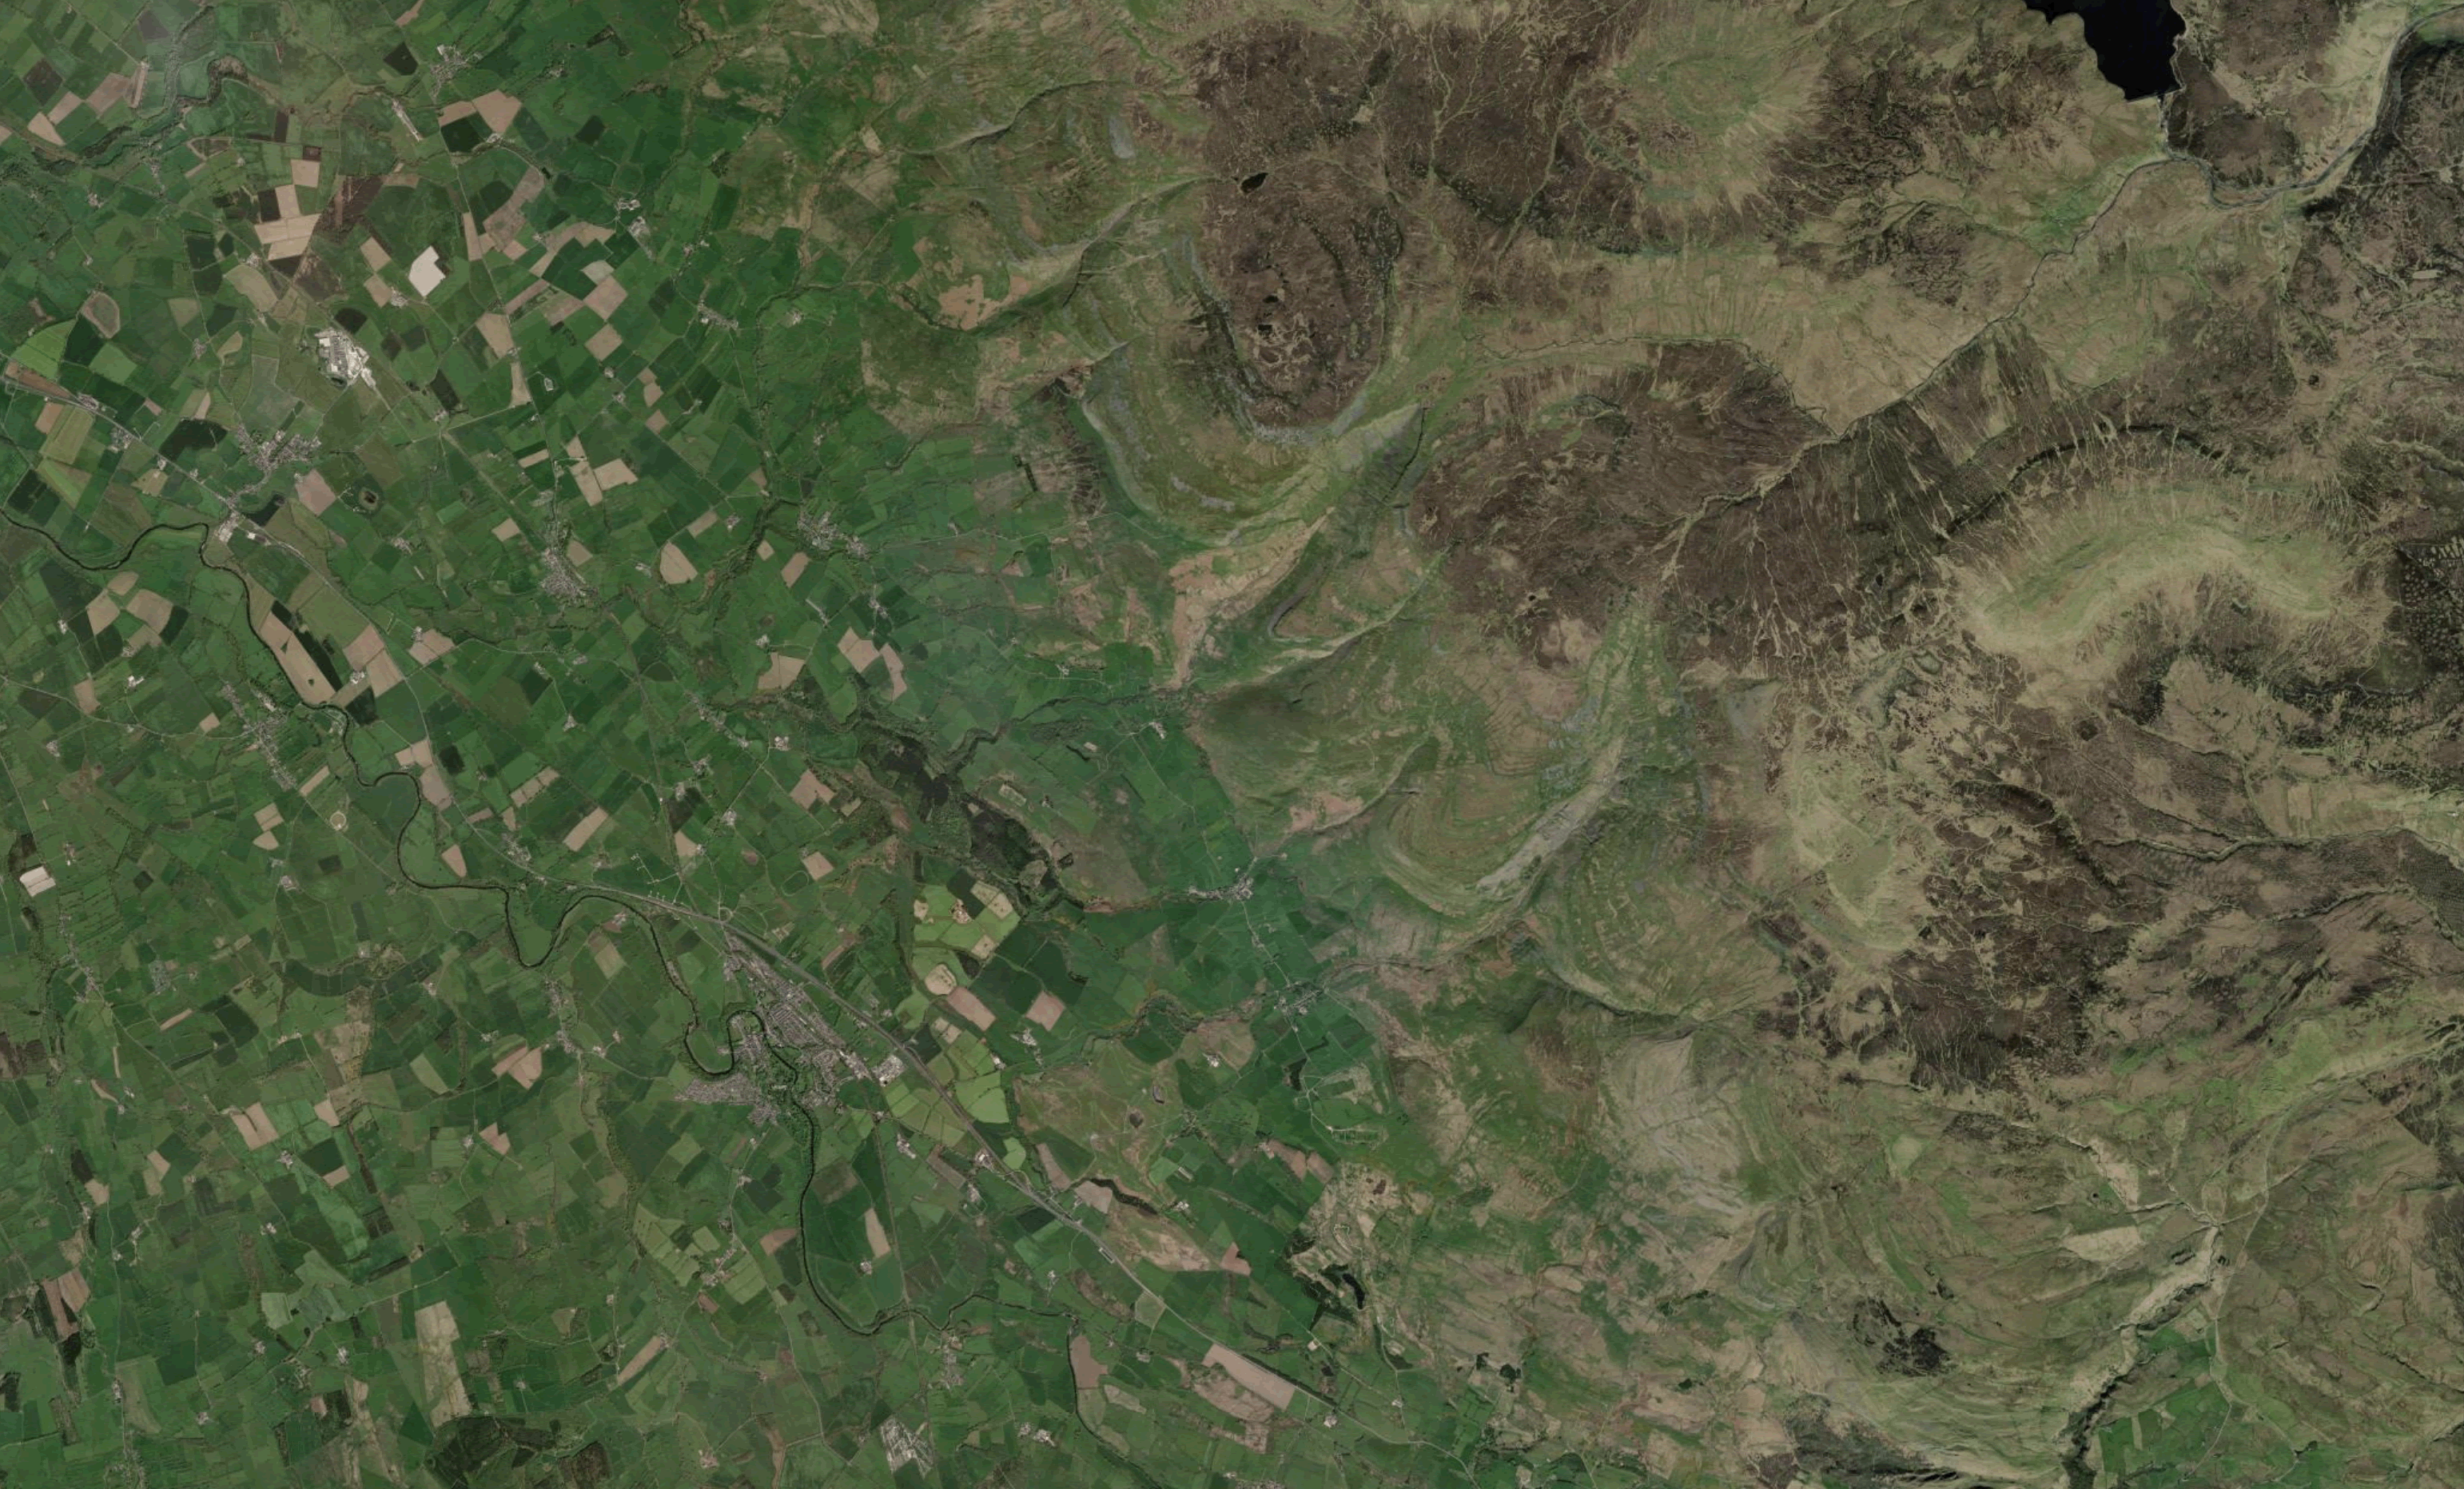
You need to find a provision of contour lines and satellite imagery. In the UK you can create an account with OS Maps or if international or don’t want to make an account you can use the arcGIS mapviewer. Either way you want to screenshot a contoured visual, and change the layer to satellite, and screenshot again.
For arcGIS mapviewer, add the “World Imagery”, and “World Contours” Tile Layers both by Esri Inc. You should end up with two pngs as follows…

Now open the contoured version in your favourite image editor and save as a png, but mark the whitest pixels as transparent. Then open it again and change the HSL of the image until you can see the contours as a red outline, I found HSL of 0,100,-34 worked quite well, then add your satellite image as a lower layer. At this point I also added a Gaussian Blur of 0.5, and a 1px #cc0000 Glow to the contour layer. Group the layers and look for something interesting as the header background.
Cut the contour layer in half, apply a fade to the right, applying the same filters, and then paste back in on the image you should then have contours disappearing to the left of the header.
Add a red overlay with transparency to the right of the image, fading out at the same place as the contours do.
Apply a gaussian blur fading out from the left edge into the centre, and the same for the right into the centre, and then add an almost transparent black layer over the entire image and adjust for mood, and finally fade, left and right thirds out to black.
After that the only task left to do is to add the shield, resizing it and place it in the centre.
And here is the final result.

Not the most trivial of processes, but it works reasonably well, if you take your time, and tweak for effect.